At a time where fast fashion and mass production seem to be the easy option for both the company and the consumer, we take pride in knowing that each pair of our gloves is made by one of our glovemakers from start to finish. It isn’t something that we must do, but rather it’s something that we feel is important to keep doing. And because we make our own gloves, we have thought long and hard about the fabrics they are made from. Our Sueded Cotton gloves are unique to Cornelia James, and we have put a lot of effort into transforming this beautiful fabric into the classically brilliant glove that it is today.

Prepping the glove
A bad pattern and cut can set the glove up for failure, which is exactly why the preparation is arguably the most important part of the process. In the cutting room, the glove is cut into shape using a metal pattern and a press. The Georgina glove has four distinctive features: three points on the back of the glove, a palm vent at the wrist, a Bolton thumb and a welt. These features were all carefully thought out during the design process, and they work together to create a great looking, well-fitted glove. We don't expect anyone to know what these details are or why they are important, so here is a glossary for these terms:
Points
Points are raised lines stitched into the back of the glove for a simply classic adornment and a snug fit. Georgina has three of these on the back of the glove, which is how it has been done for centuries.

Palm vent
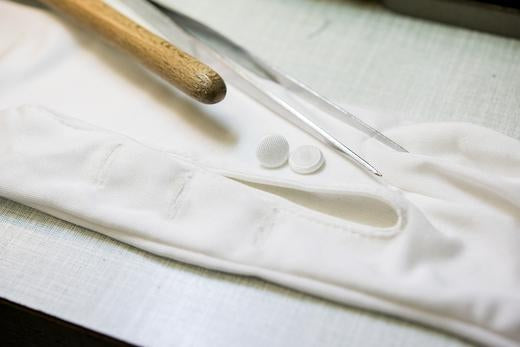
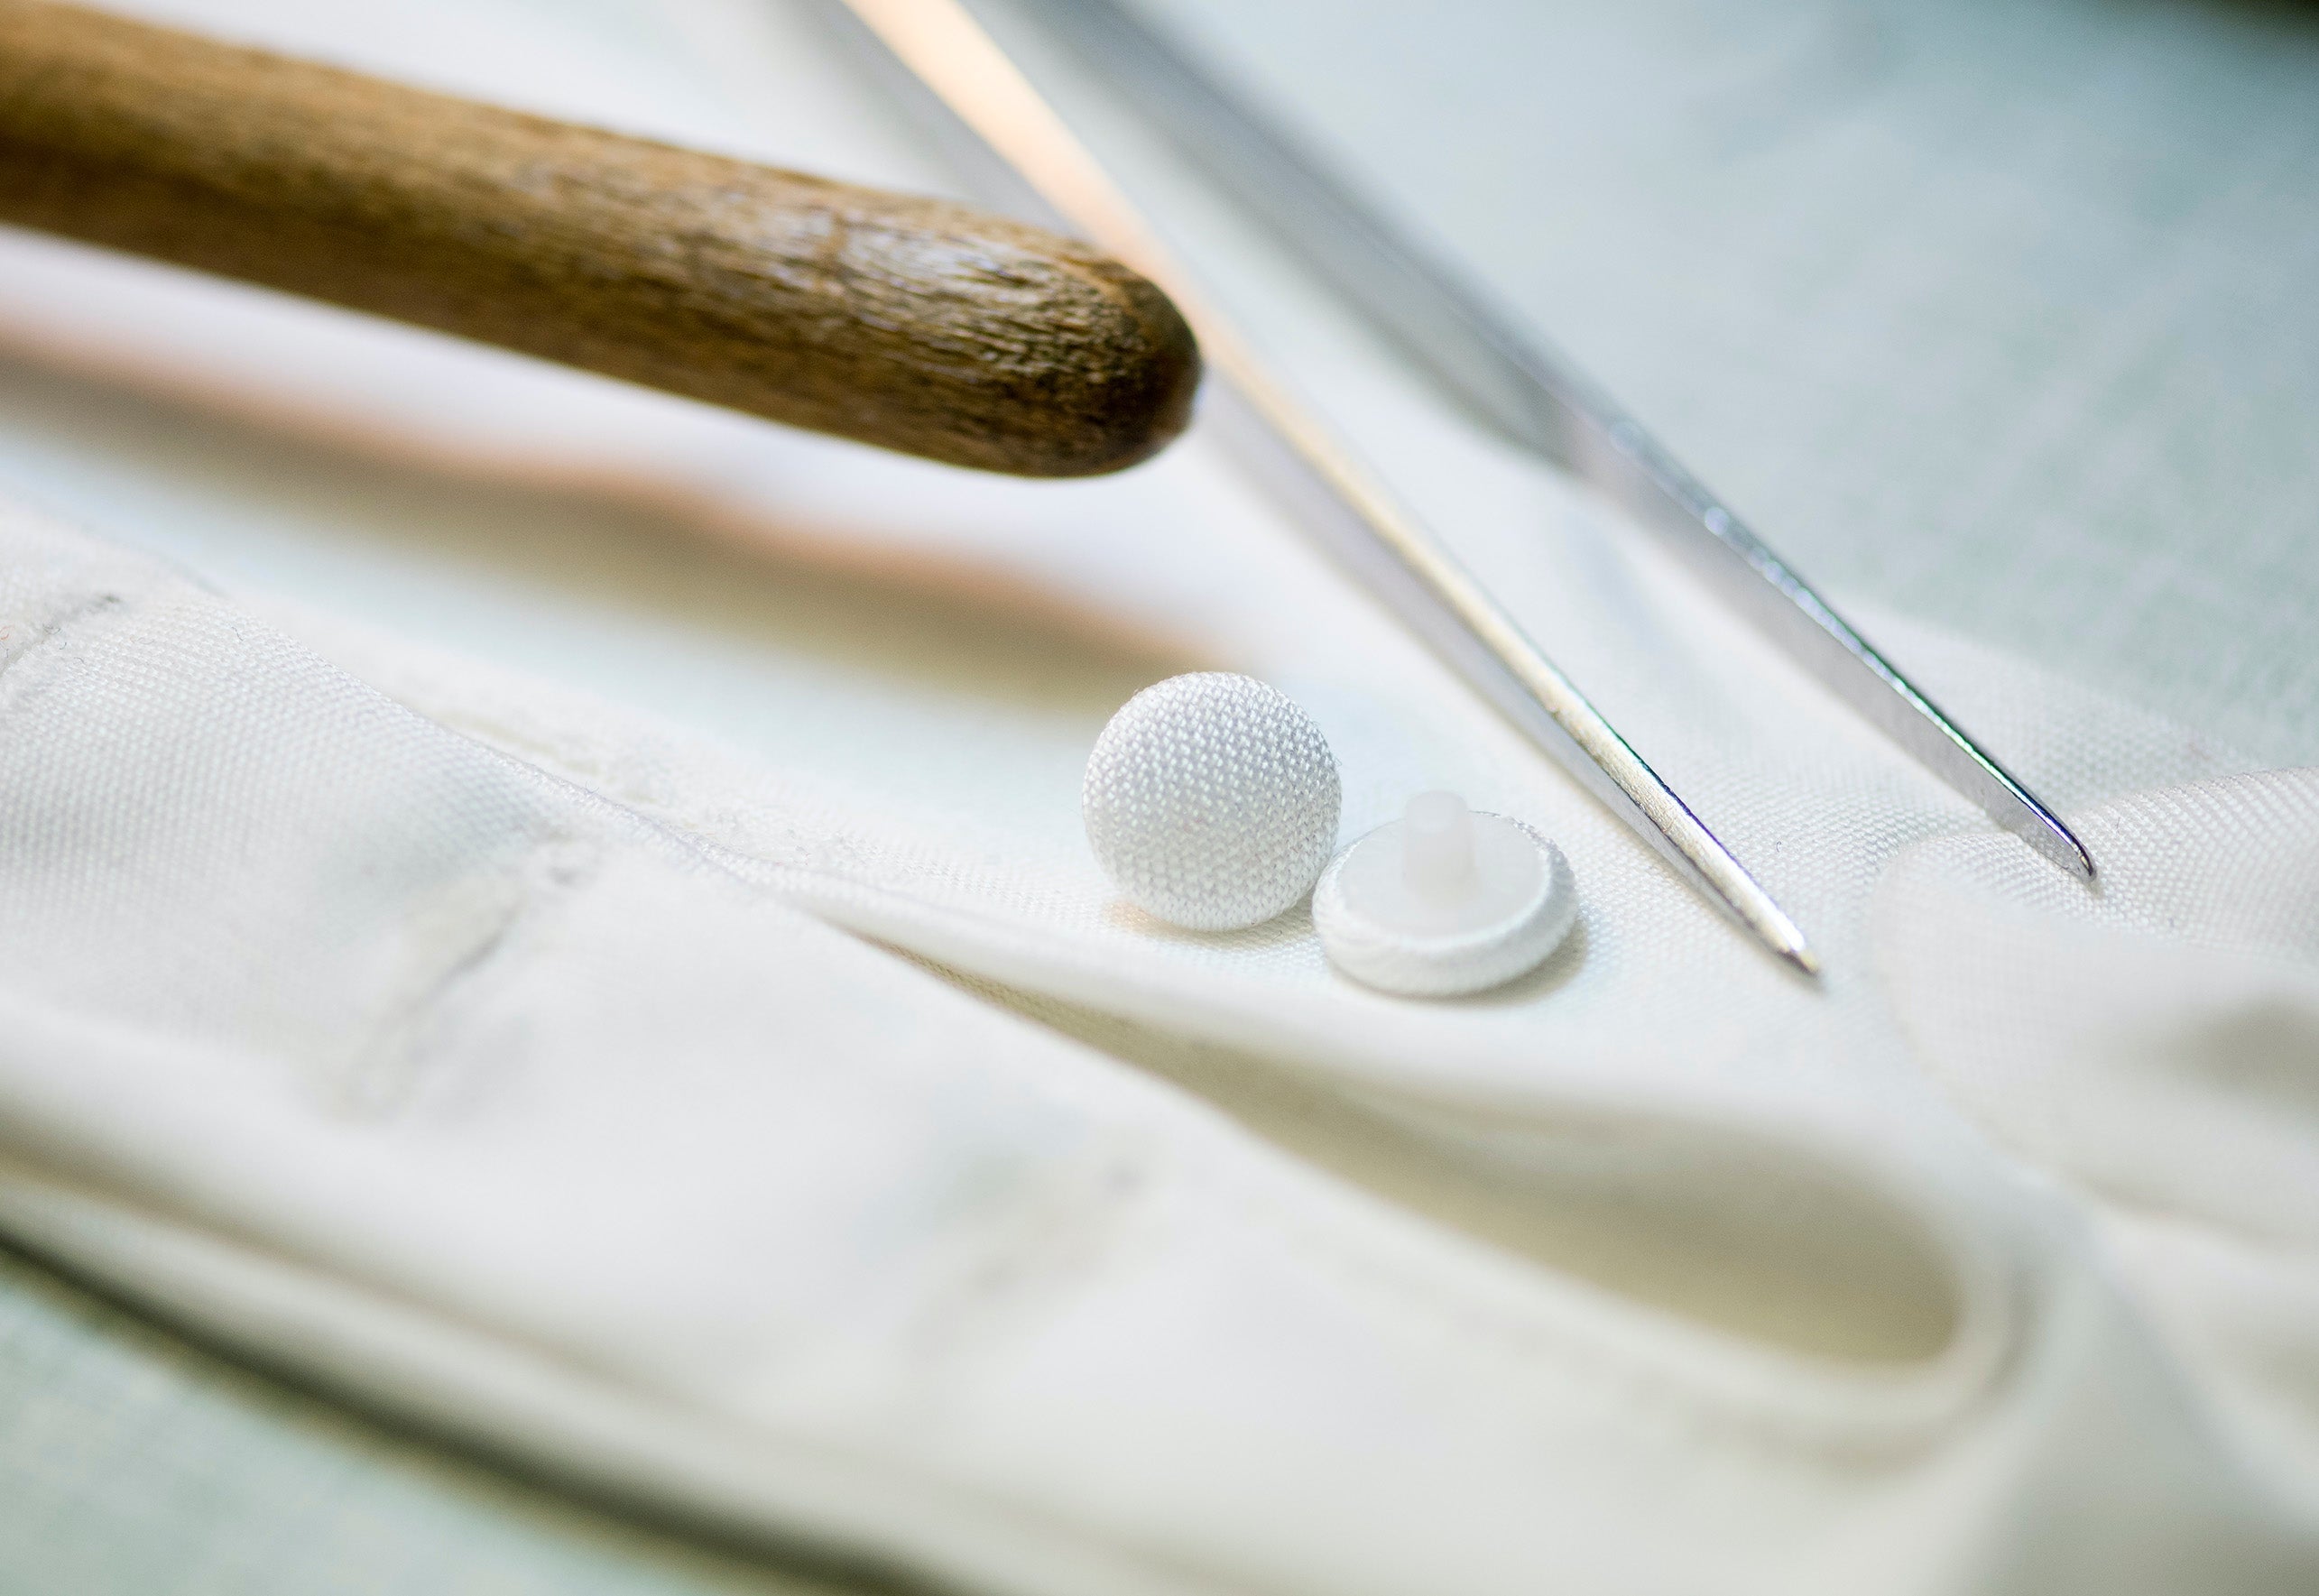
A palm vent is a little cut out on the inside of the wrist which allows the glove to be slipped on with ease.

Bolton thumb
Sometimes, a quirk — a little V cut out — can be found in the fourchette of a glove between the fingers. A Bolton thumb is created when the thumb piece and the quirk are cut together into one piece of fabric. This is a better kind of thumb for gloves with thicker fabrics, like sueded cotton and leather, because the cut allows for more movement in the thumb.
Welt
Most gloves have a blind hem, while Georgina has a welt. This is a thin piece of material which is folded around the raw edge of the glove and stitched on. The function is the same, but the look is very different.
Glovemaker Ellie affirms, “With gloves, it’s all about the detail.” And it is true - small changes can create a noticeable difference in the feel and look of the glove.
Creating the points
Points are not a feature of every Sueded Cotton glove, but they are a classic decorative detail. They can be styled in different ways to help create a simply timeless glove design — they've been added to gloves since around the 18th century, so they definitely stand the test of time! A stencil and chalk pencil are used to mark out the top and bottom of each of the points. Starting with the middle point, the glovemaker uses a double needle sewing machine to sew each point from the top to the bottom marking. Glovemaker Lilly explains, “To get rid of the loose threads, we unpick the last few stitches so that the threads come through on the other side of the fabric.” They are then knotted and trimmed to secure the stitches.

Sewing the glove
The same machine is used to construct the first part of the glove - the thumb. The trank (the piece of fabric that has been cut into the shape of a glove) is laid out on the table, and the thumb piece is carefully lined up with the gouch (the hole cut out for the thumb piece) by aligning the thumb with the tongue. Lilly stresses the importance of precision when sewing the thumb with the gouch. “Everything must match up properly, otherwise the fit will be wrong.” A fourchette is a long and narrow piece of fabric sewn in between the fingers to join the two halves of the glove together. Fourchette is French for 'fork', so it is easy to imagine how the fourchette turns the flat fingers of the trank into fork-like prongs. The glovemaker begins at the top of the little finger, and each finger is sewn and tapered along the way to avoid long and bulky fingers. Any excess fabric is carefully trimmed off with fabric scissors.
To close the glove, the fourchette is sewn onto the other side of the fingers starting from the index finger. The glove is sewn shut all the way around, and down the side of the glove. Again, Lilly emphasises the importance of aligning the two layers of fabric with precision to ensure the best fit. Lastly, the glove is secured at the wrist with a welt instead of a blind hem. This is stitched around the edge, folded over and stitched again with a straight stitch industrial machine. As always, excess material is cut off from the inside.

Checking the glove
After every glove is sewn, it is thoroughly checked for sizing and faults, such as slip stitches or fabric flaws. As soon as the glove has had its welt sewn, it is tried on. Any issues found are mended and any remaining extraneous fabric is cut. The gloves are then turned inside-out and the fingers are pushed out with a glove stretcher. Again, the glove is tried on once again for one last check. Once both gloves are perfect, they are attached together with a needle and thread. A size and ‘Made by’ label is added, which is signed by the glovemaker so that the customer knows exactly who made their gloves. This gives the glovemakers a huge sense of ownership and responsibility, and they take pride in every stitch that they sew. Factory-made gloves just don't come close.